I wanted to slap up a few pictures of the hacked together looms that we made today for the kids to make different types of bracelets on. There are no photos of them actually being made because I was out in the back yard on my hands and knees with a drill and a toddler and a baby in a buggy and you just need to see them to realise exactly what I did, because it's really simple.


I wasn't going to be getting the proper plastic loom thing that is sold to make these with, because I'd have to get two because there are two older kids for a start, but also they just look like they are over engineered for the job. The kids had been making the more simple bracelets just using their fingers to loop the bands over, but it becomes tricky to put things down mid bracelet when you're doing that, and you can't do the more complicated ones with fingers anyway.


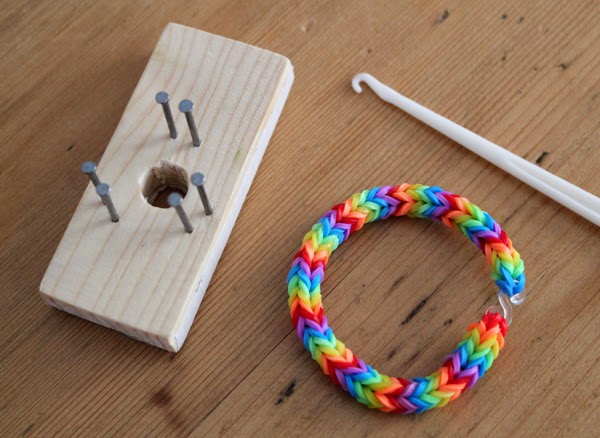
We made three different looms, each by just drilling a hole into a bit of wood and then banging a few little nails into the appropriate places. Sanded the wood a little to smooth off the drilled hole and edges, but really it was that simple. By using two nails fairly close together as the loop point, it's really easy to get the little hook in to pull the bands over.
The easiest loom was the one with two loop points.
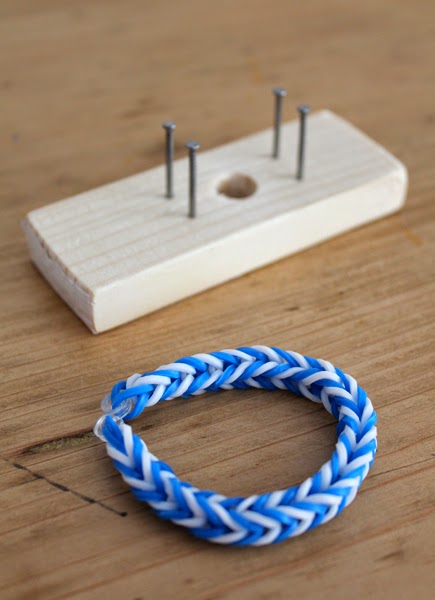
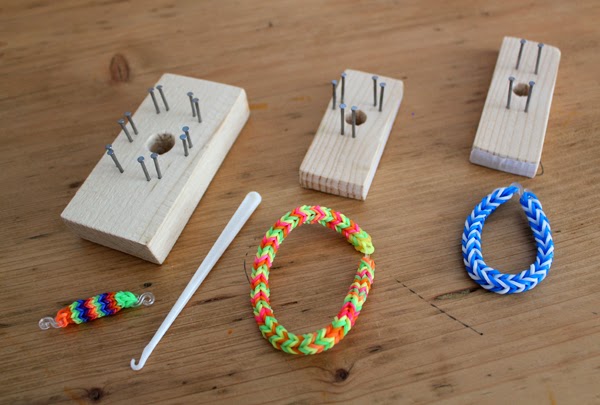
The next was one with three loop points.
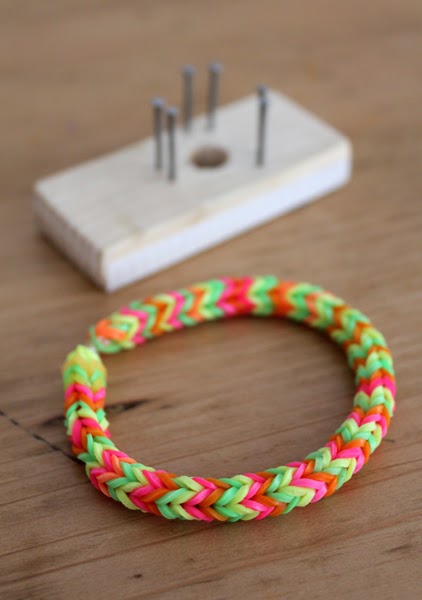
Then we skipped right ahead and made one that had six loop points.

Even little Del was intent on having a go. She's got a lot of focus for a kid that's just turned three last week, but I guess when you can see your two older sisters doing something, you really want to do it too.

I put together a bunch of photos to show how the three loop point bracelet starts, builds, and ties off. If you click on the image below it should open up the full size image for you to see it better. The black bands that you see making the start are eventually snipped with scissors and pulled out and thrown away.